

|
Total posts: 6469
Last post: Sep 29, 2022 Member since:Nov 2, 2006
|
Cars in Garage: 4
Photos: 1354 WorkBench Posts: 2 |
|
Image Gallery
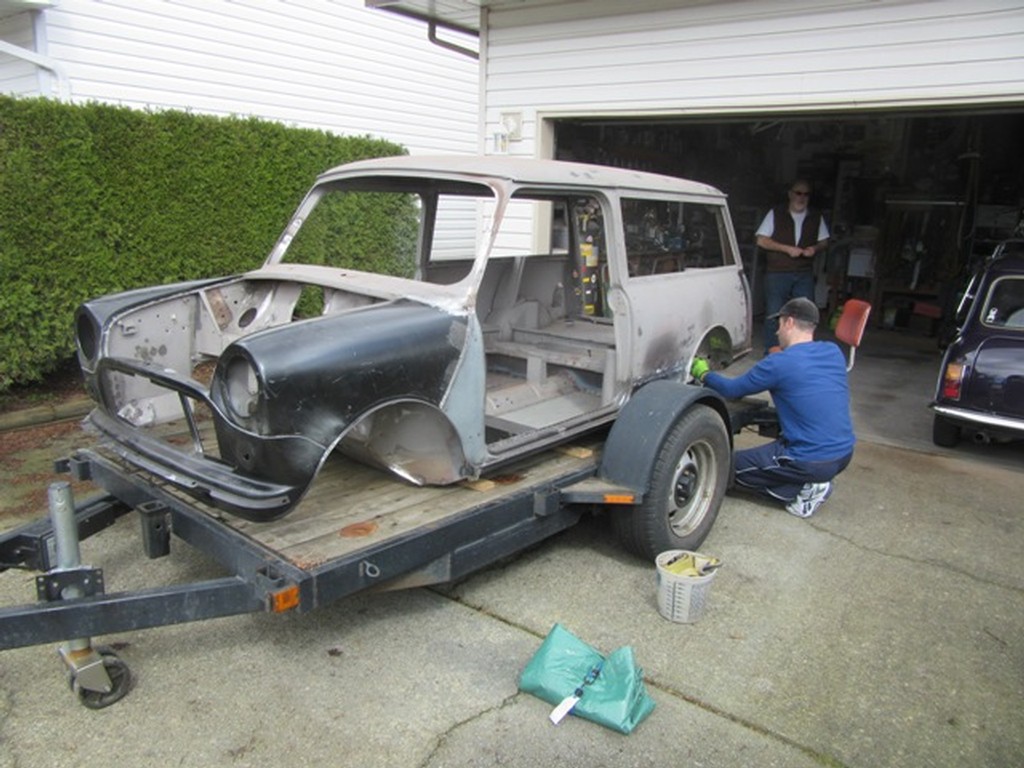
Got shell loaded yesterday & back into garage for the overnight.
(my younger son Jeremy helping the old guys)
|
|
Total posts: 6469
Last post: Sep 29, 2022 Member since:Nov 2, 2006
|
Cars in Garage: 4
Photos: 1354 WorkBench Posts: 2 |
|
 Interesting to see the 100+ wheels still in use...I refinished 14, yes fourteen, 100+ wheels which we used on 2 Minis (yours & Jeremy's older brother's later my Mini known as Pooh.
The wheels had all paint stripped off, rim lips & spokes polished by Dominion Metal polishing (now long since closed), then thorough wash & rinse, then masking of lips & spokes, then Tremclad Gloss Black (with all wheels baked in the kitchen oven when the wifey was away), then let the wheels sit for 6-8 weeks (or more) before removing masking...then several/many light coats of clear lacquer.
Most of the rest of the 100+ wheels (I used Minilites on my rebuild) were sold to a fellow in Oregon, who was going to use them on some kind of Midget race car. Sold them to him in 2005 on the way to MMW in California.
PHOTO: Five 100+ wheels were used with the first iteration of Pooh, seen in the Amana Colonies, Iowa on the way home across the USA from MME 2000 in Quebec
|
|
Total posts: 41
Last post: Apr 2, 2024 Member since:Sep 11, 2013
|
Cars in Garage: 0
Photos: 0 WorkBench Posts: 0 |
Image Gallery

I've followed this thread and other restoration recaps here and elsewhere with interest wondering just how extensive and what it might have looked like for this one. Very cool to have some of those questions answered.
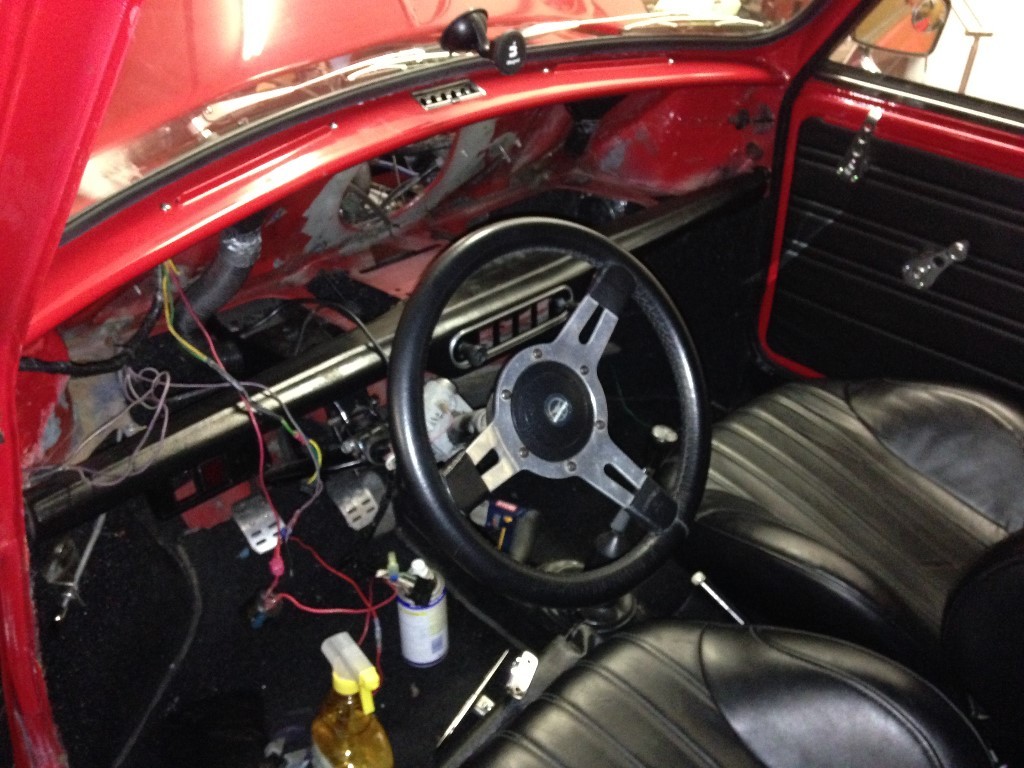
Engine is mechanically solid as far as I can tell, only smoke I've seen is briefly at startup. Had a split personality early on since I've owned it. Often it would run great occasionally it would not, sometimes it would just quit and I'd coast to a stop scratching my head wondering what the heck.....
Worked through some electrical and fuel system issues that have been interesting and probably repaired a few items unnecessarily.
When we moved to our current home and it got it's own garage it allowed me to dig a little deeper, why it ran at all and didn't catch fire was a real puzzler once I took off the fresh air intake horn and had a look at the solenoid. Replacement of the wiring harness and a self taught introduction to the HIF44, a new fuel pump, filter and a ignition switch seem to have it behaving well and running reliably.
Continuing education for later this evening will be setting the timing dynamically, got it running with a new electronic distributor this morning, should be interesting.
|
|
Total posts: 6469
Last post: Sep 29, 2022 Member since:Nov 2, 2006
|
Cars in Garage: 4
Photos: 1354 WorkBench Posts: 2 |
|
Image Gallery
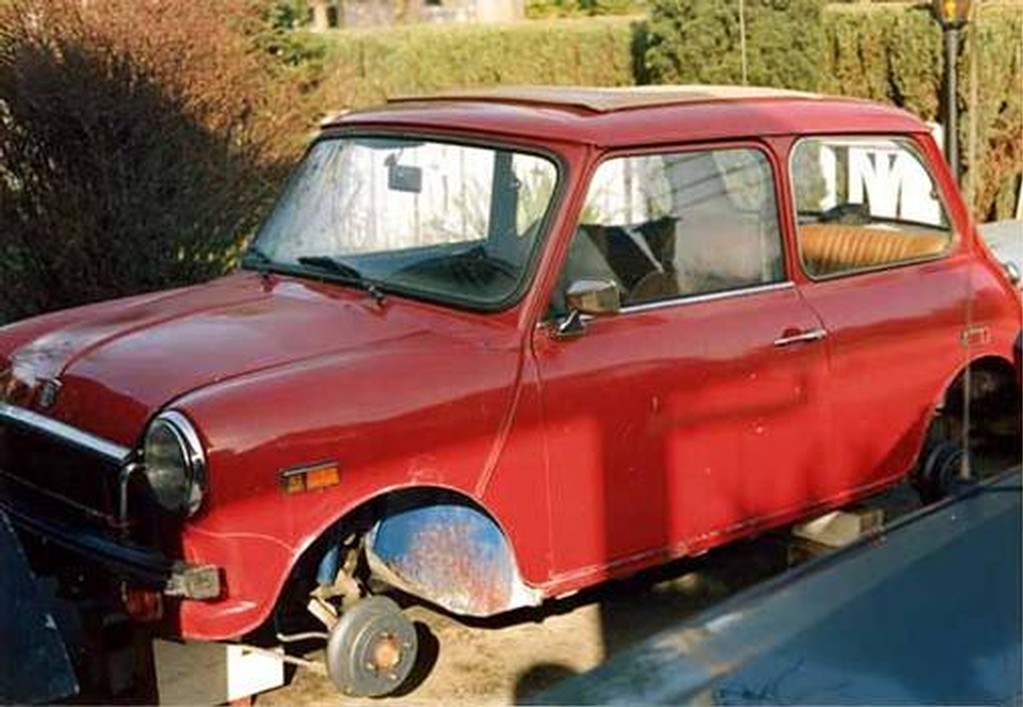
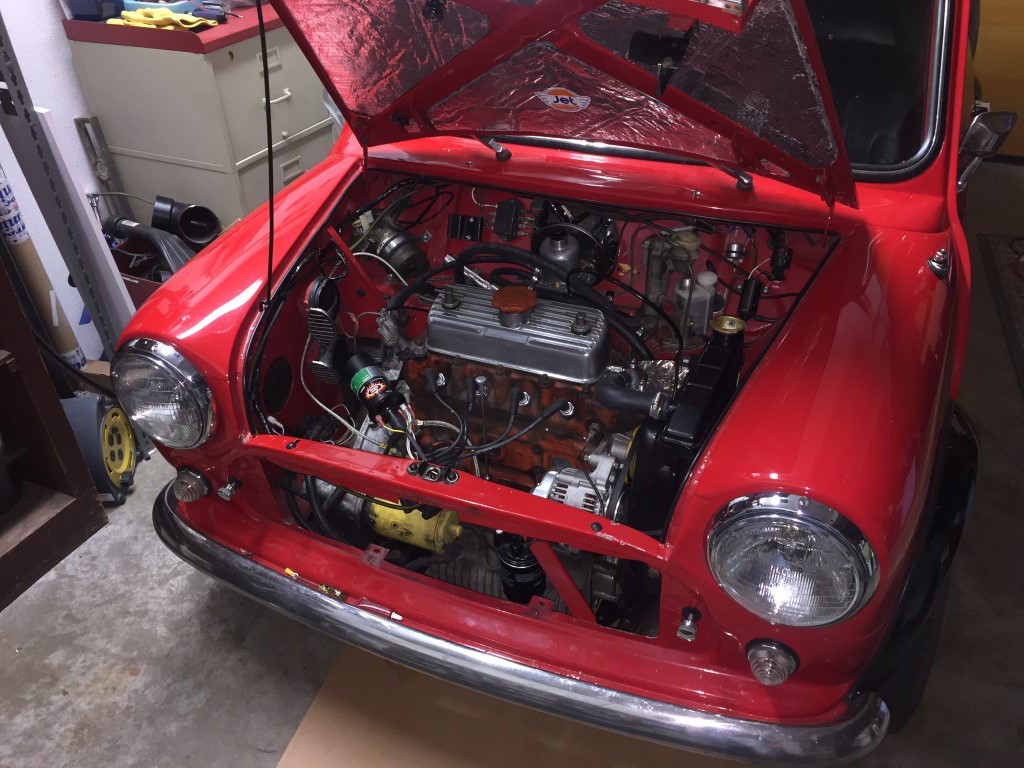
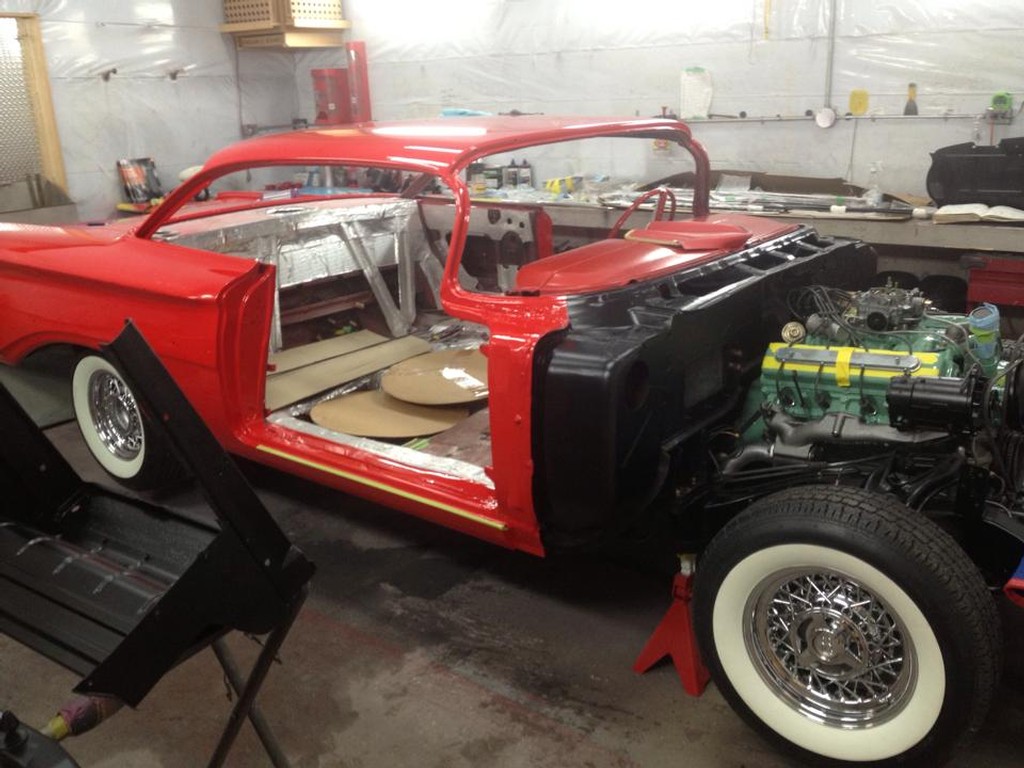
It had been painted red over 'teal' blue (?) SEE photo. We stripped all the paint off the exterior in the driveway with Dad's stripper and took it to Canadian Auto Restorations in south Langley on a cold dry day in January 1992 to blast the exterior. Then went to Epoxy before steel work.
Was painted Black over Red by mousy who did the steel work & also built the pre-A+ tranny with pressurized layshaft (the oil line) over which a brand new MG Metro crate engine was installed. Originally it had twin leading shoe drum brakes but we upgraded to S discs.
Twin tanks (RH home built), grey headliner, Weathershield sunroof. 100+ wheels. It had outer sills replaced and repainted also it had minor body & damage to sun roof from a thrown beer bottle one night (another beer bottle hit my wife's Honda the same night).
Last I saw of it in Canada it was leaving some blue smoke. I think the chap Jeremy sold it to drove it like it was stolen (he had had a Cooper S back in the day).
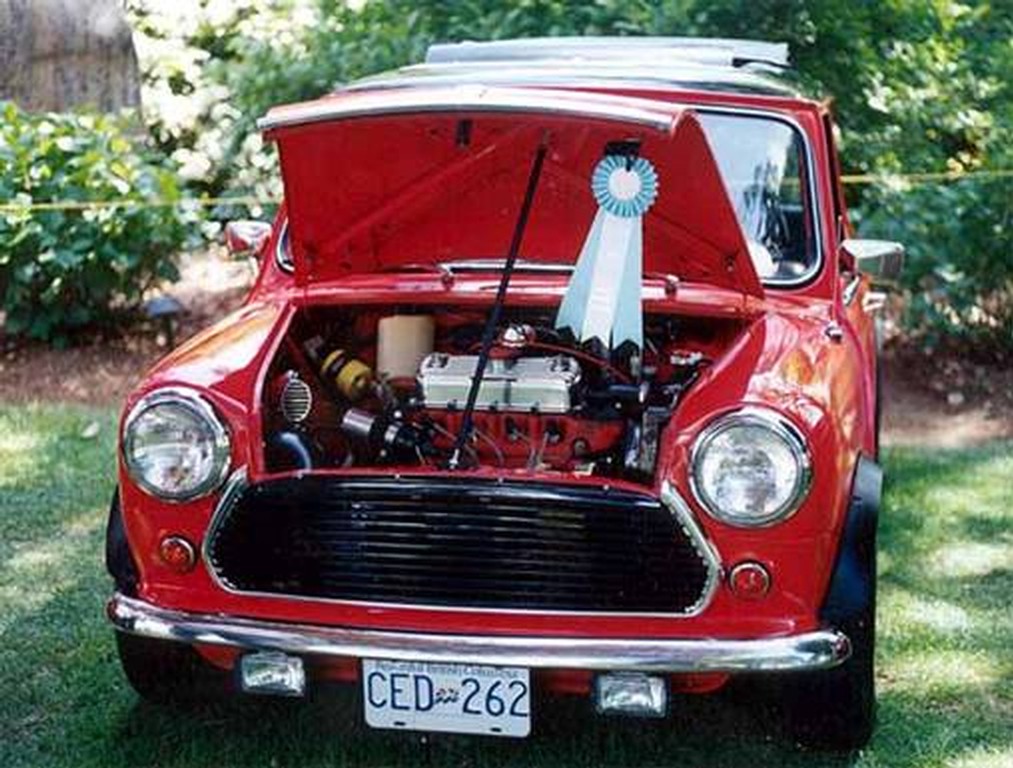
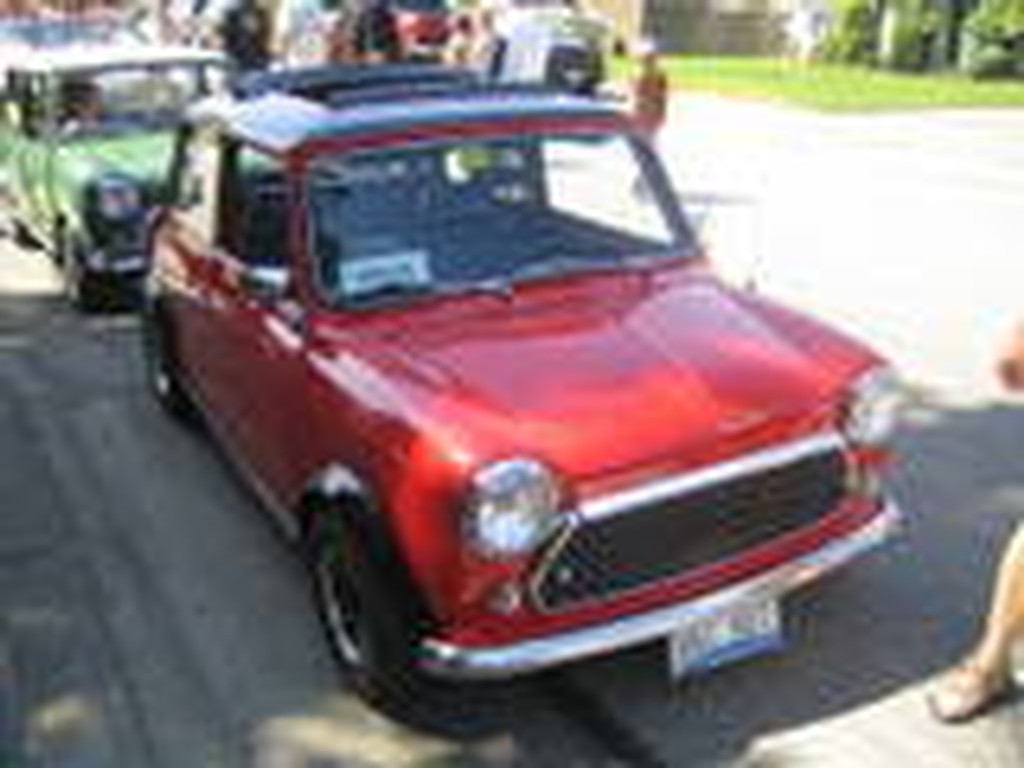
At Portland ABFM in 1993 it took 2nd place Peoples Choice and 1st place Vancouver ABFM in 1994 SEE photo & note City flairs & driving lights that were on the Mini early on. I drove it to MMW in 1996, Jeremy drove it to MMW 1997. It was his daily driver for 10 years and was meticulously maintained.
|
|
Total posts: 41
Last post: Apr 2, 2024 Member since:Sep 11, 2013
|
Cars in Garage: 0
Photos: 0 WorkBench Posts: 0 |
Image Gallery
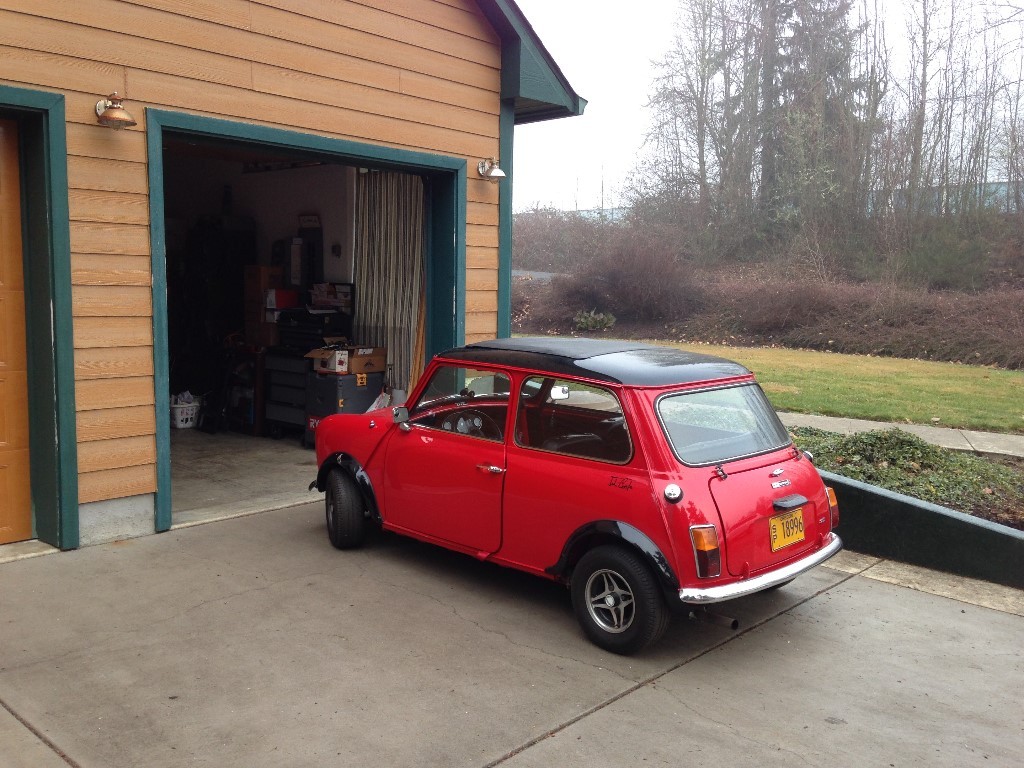
Nice car. Hoping to have it back on the road tomorrow.
|
|
Total posts: 6469
Last post: Sep 29, 2022 Member since:Nov 2, 2006
|
Cars in Garage: 4
Photos: 1354 WorkBench Posts: 2 |
|
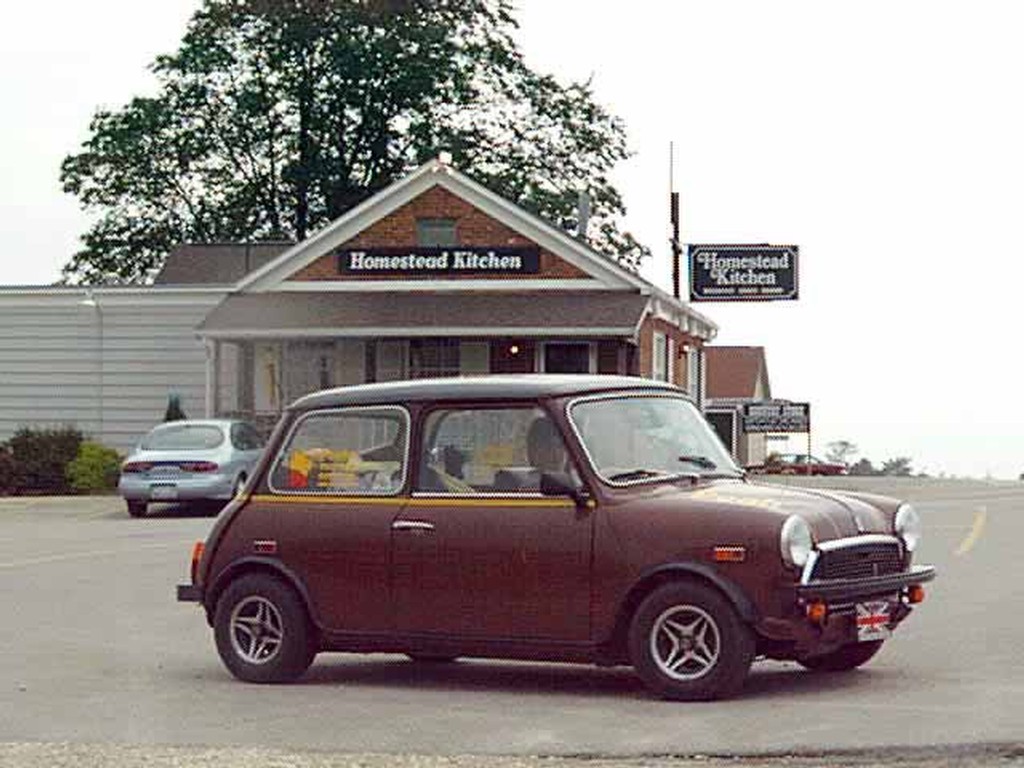
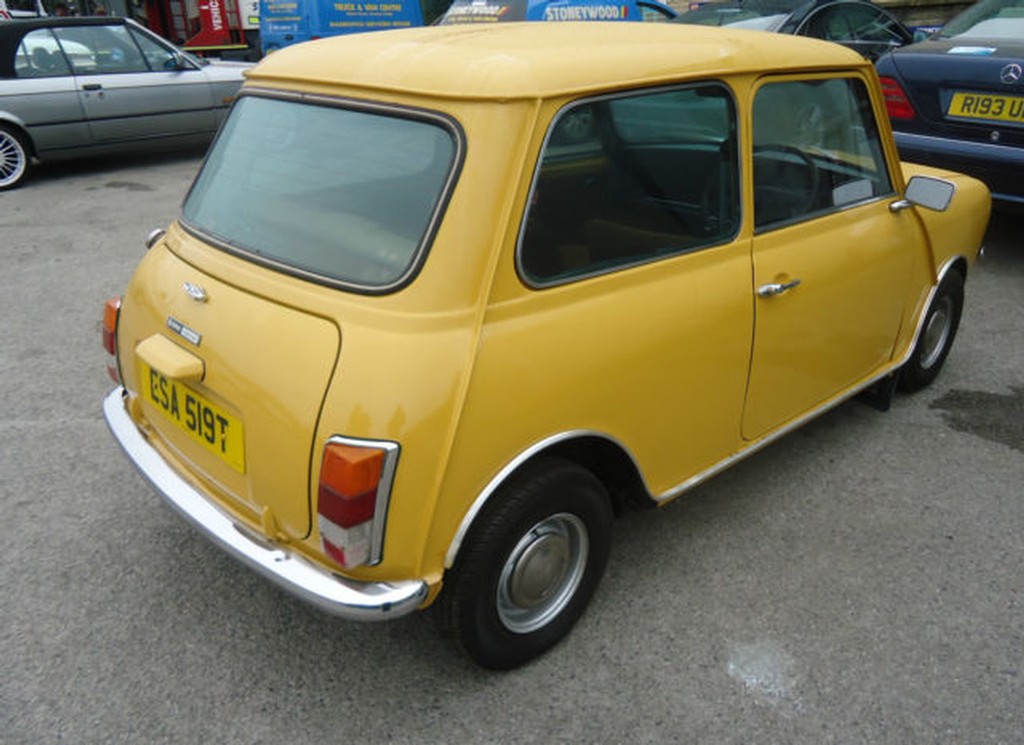
 Hold on just a minute...kdwest. Is that your Black over Red Mini??
I ask because it looks very much like the Mini Jeremy & I built 23 years ago...here is Jeremy's Mini.
|
|
Total posts: 41
Last post: Apr 2, 2024 Member since:Sep 11, 2013
|
Cars in Garage: 0
Photos: 0 WorkBench Posts: 0 |
Photos of Active Pass bring back some fond memories of visit to cousins B&B on Maine Island back while wife and I were still dating. Where did the 25+ Years go? Nice way to start the day!! Thanks for that....
|
|
Total posts: 6469
Last post: Sep 29, 2022 Member since:Nov 2, 2006
|
Cars in Garage: 4
Photos: 1354 WorkBench Posts: 2 |
|
Image Gallery

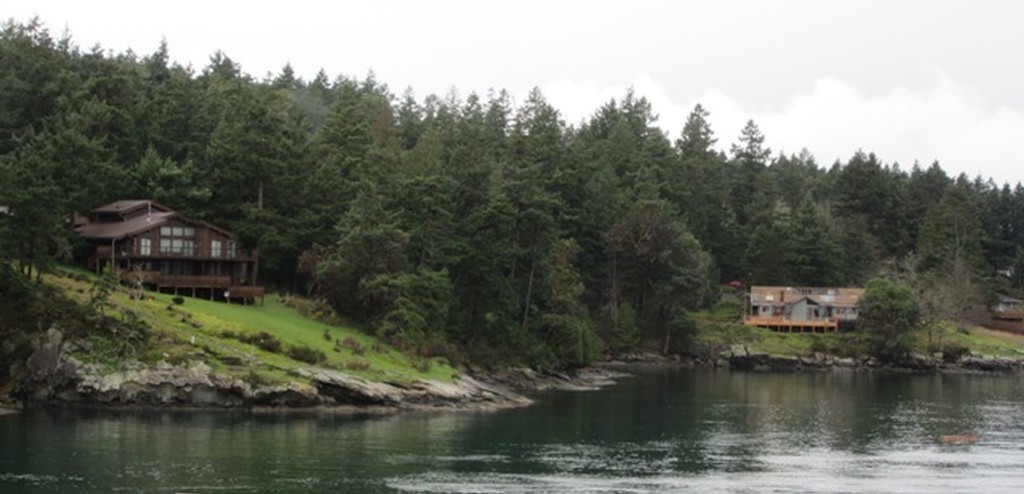

He will replace it when we head for Victoria in May to pick up new 4.5"x10" wheels, new A008 tires and complete new S brake set with AP calipers, plus miscellaneous bits.
A ferry trip through the Southern Gulf Islands to get to/from Victoria makes for a great day trip, especially when collecting new Mini bits.
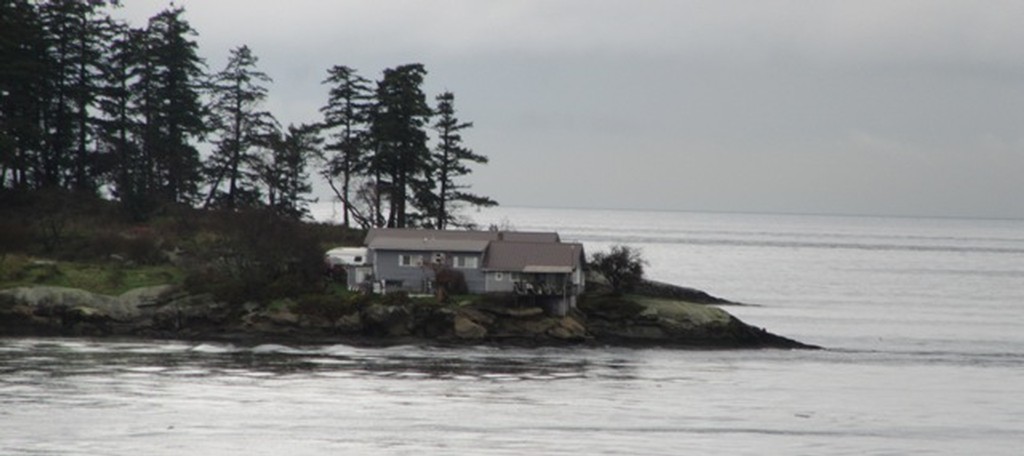
PHOTOS: our last Mini buying trip. Going through Active Pass on an overcast day.
|
|
Total posts: 6469
Last post: Sep 29, 2022 Member since:Nov 2, 2006
|
Cars in Garage: 4
Photos: 1354 WorkBench Posts: 2 |
|
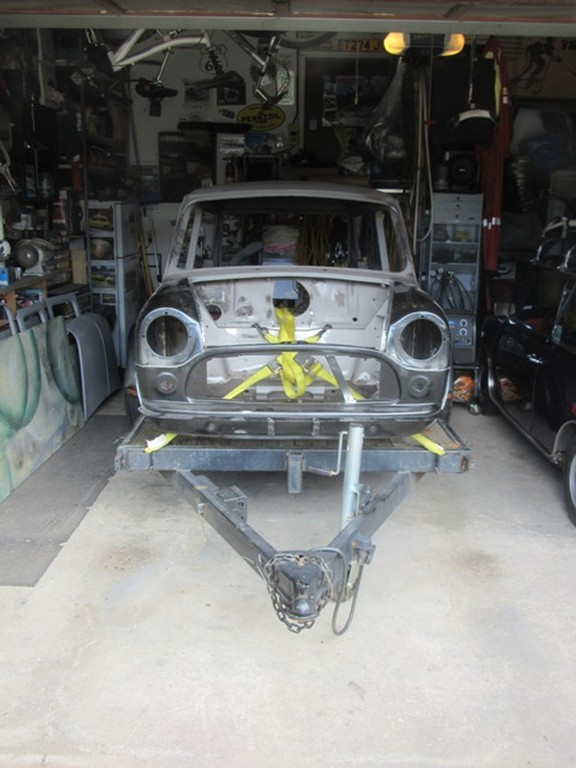
Got the 4 doors & bonnet back from U Blast today...a little more attention and into epoxy primer.
Shell goes in next Monday morning 1st thing...we'll loiter on the south side of the Fraser River and bring it back as soon as it is out of the big booth. Weather looks to be good for transport.
Shell goes in next Monday morning 1st thing...we'll loiter on the south side of the Fraser River and bring it back as soon as it is out of the big booth. Weather looks to be good for transport.
|
|
Total posts: 946
Last post: Dec 26, 2023 Member since:Aug 6, 2011
|
Cars in Garage: 0
Photos: 0 WorkBench Posts: 0 |
|
Thanks a lot Rick for all the information. I am testing stripping on the inside so that I do not damage too much the outside. I found the original (?) factory color to be some sort of yellow mustardy one. I am applying several coats of the stripper but might try to find the aerosol you mention for the tricky corners.
thanks a lot again and great job on restoring your van,
regards,
Abel
|
|
Total posts: 6469
Last post: Sep 29, 2022 Member since:Nov 2, 2006
|
Cars in Garage: 4
Photos: 1354 WorkBench Posts: 2 |
|
Image Gallery


A light dusting in the corners when we blast the doors should finish it up.
|
|
Total posts: 6469
Last post: Sep 29, 2022 Member since:Nov 2, 2006
|
Cars in Garage: 4
Photos: 1354 WorkBench Posts: 2 |
|
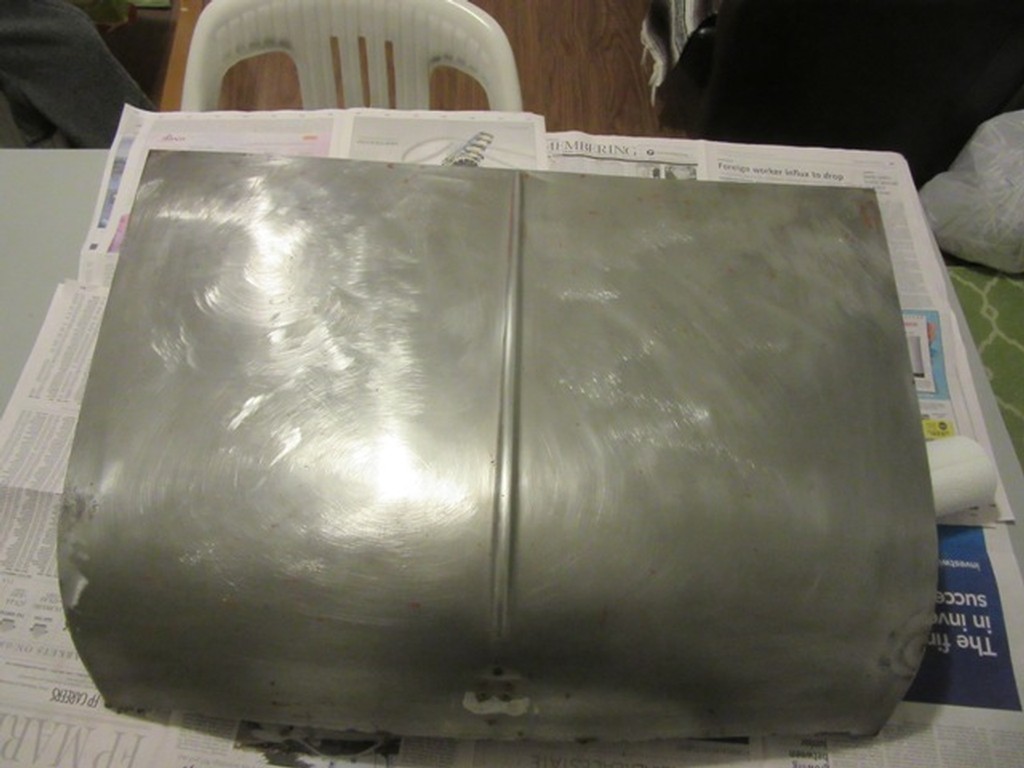
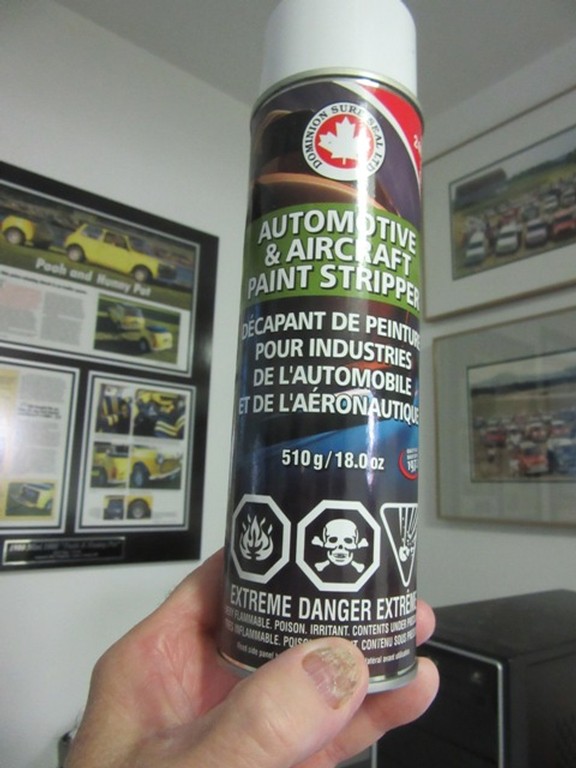 I used the most effective stripper gel from the Paint Store and it worked well on the top coat....and needed 2 repeats to get the paint off the outside...the easiest side. Even though I was using a Frank (brand name) scrubbing pad (using rubber gloves obviously).
On the inside, the stripper worked reasonably well on the flat & more accessible surfaces...but was not easy to work with on the details of the webs, corners, around the bonnet steady bracket & latch pin mount....
So, I went up to Lordco - major auto supply house in Western Canada - and bought an aerosol 'Automotive & Aircraft Paint Stripper'. This got into the corners and helped do what I could with scrubbing pad and SS wire brush.
A light dusting into the awkward spaces when we blast the doors should complete the job.
MUST use protective glasses as well as gloves when using the aerosol
|
|
Total posts: 9547
Last post: Apr 26, 2024 Member since:Aug 14, 2002
|
Cars in Garage: 0
Photos: 0 WorkBench Posts: 0 |
|
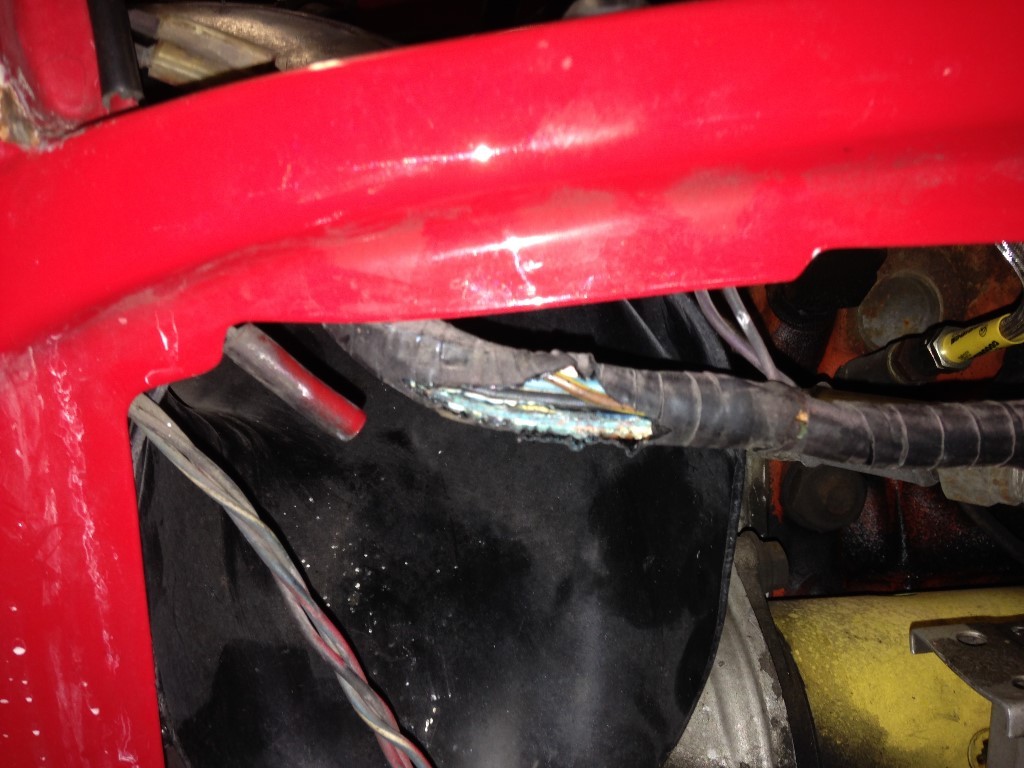
Brake fluid is really good at taking even baked enamel off. 
.
"Hang on a minute lads....I've got a great idea."
|
|
Total posts: 946
Last post: Dec 26, 2023 Member since:Aug 6, 2011
|
Cars in Garage: 0
Photos: 0 WorkBench Posts: 0 |
|
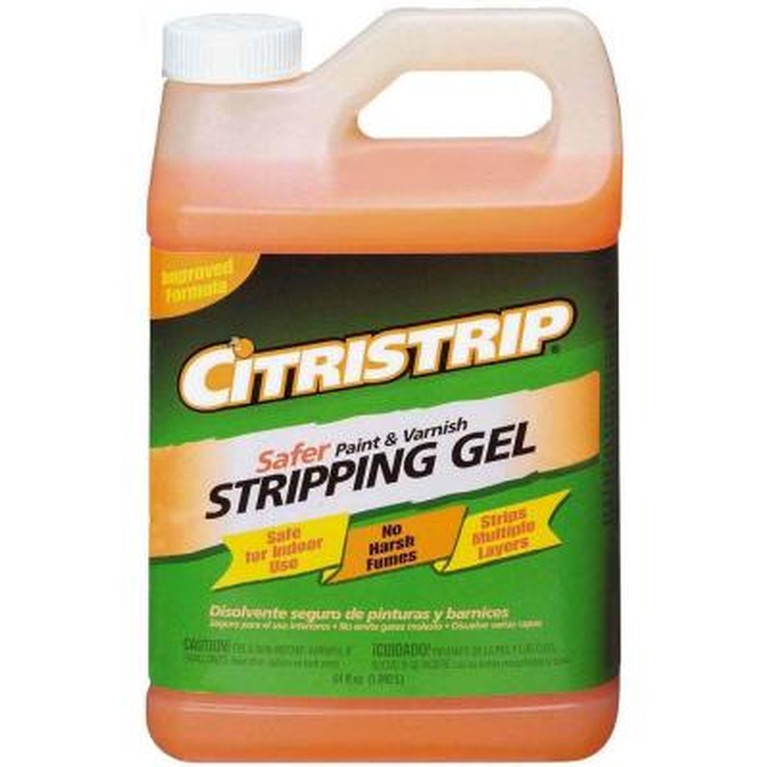 thanks Hunter. I have used Citristrip, but had to apply several coats to eat into the basecoat and then the old primer. Is there any brand you would recommend?
cheers,
Abel
|
|
Total posts: 6469
Last post: Sep 29, 2022 Member since:Nov 2, 2006
|
Cars in Garage: 4
Photos: 1354 WorkBench Posts: 2 |
|
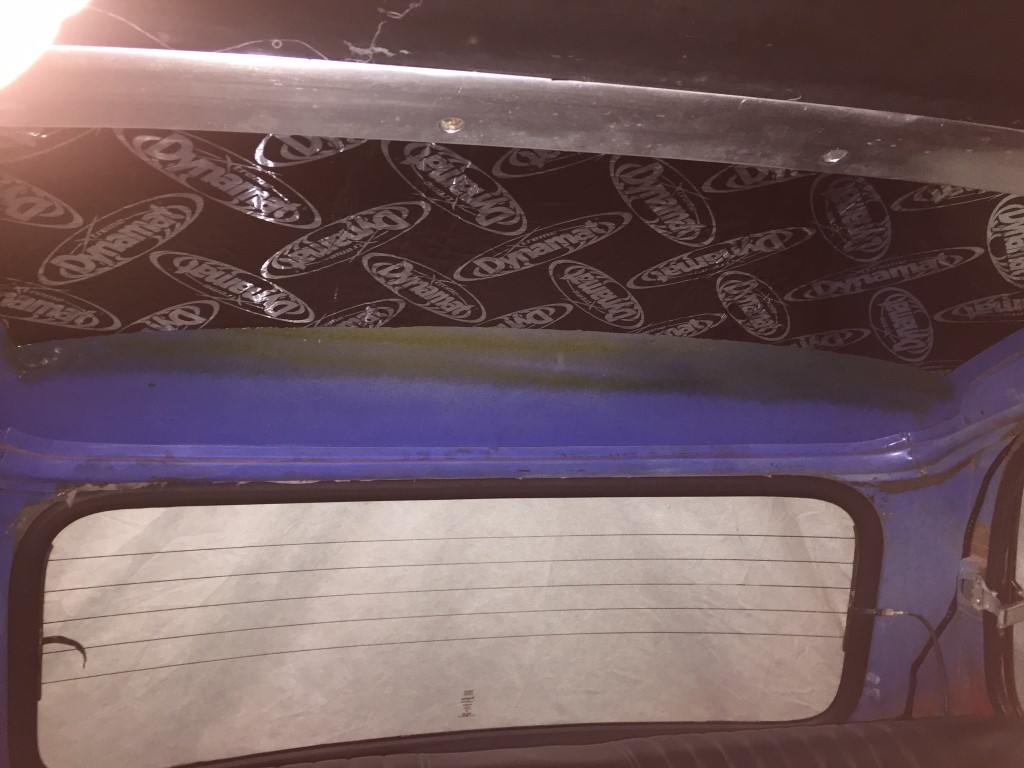
Image Gallery


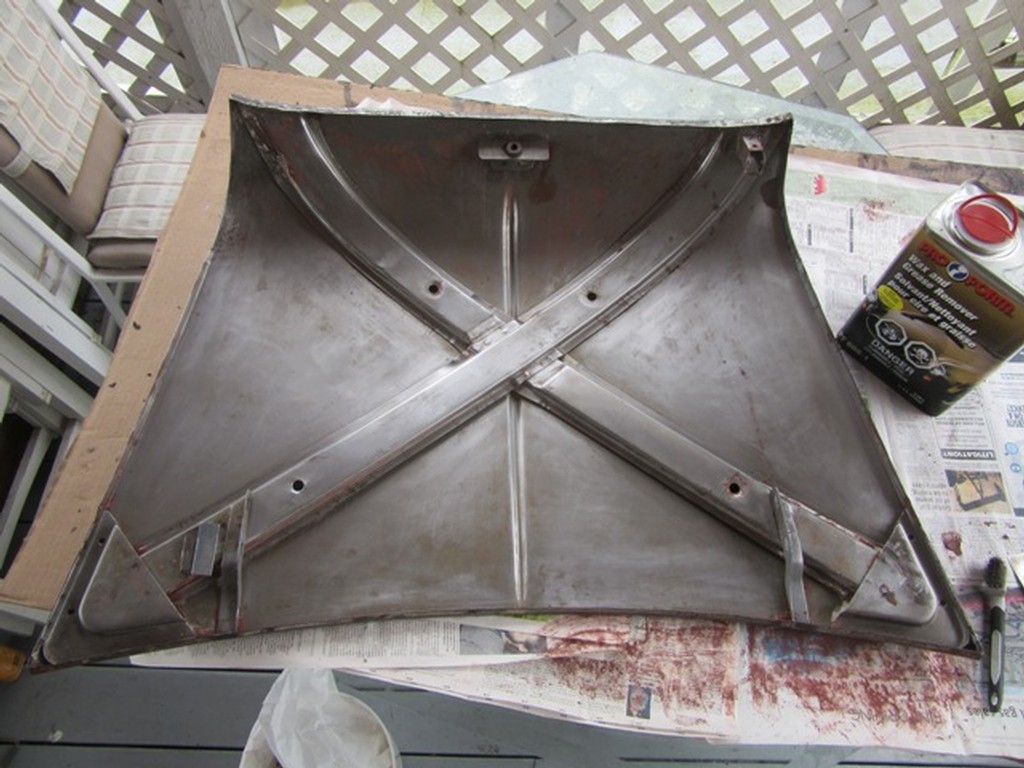
Used air to blow out stripper etc. from beneath the webs & rear corners. Wiped down with oil/grease remover (collects up most of the remnant paint).
We will dust the inside corners to complete the job before wipe down and epoxy primer.
PHOTOS: inside after MK I mods, outer & inner sides after stripping
|
|
Total posts: 946
Last post: Dec 26, 2023 Member since:Aug 6, 2011
|
Cars in Garage: 0
Photos: 0 WorkBench Posts: 0 |
|
Quote:
Originally Posted by Hunter2
And a Mustang in for a 3-day paint job that turned into 3 weeks when rust found in sills on both sides needing replacement.
However, undeterred, we will get the 4 doors & bonnet to U-blast on Tuesday, maybe the shell on Friday.
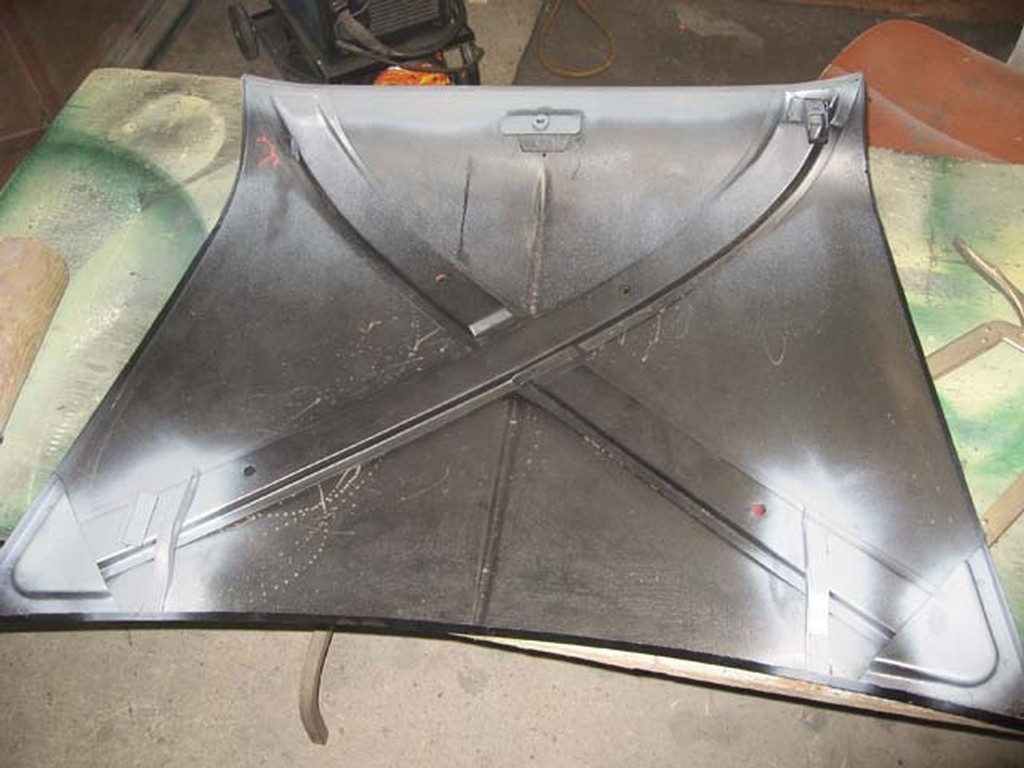
Fiddled for quite a while stripping the paint off the inside of the bonnet...glad I did...a few minor issues to address. Light blast into the corners will finish the job.
However, undeterred, we will get the 4 doors & bonnet to U-blast on Tuesday, maybe the shell on Friday.
Fiddled for quite a while stripping the paint off the inside of the bonnet...glad I did...a few minor issues to address. Light blast into the corners will finish the job.
I am in the process of repainting my bonnet too and wanted to ask you if you stripped the paint chemically (paint remover) or with a sander,
thanks,
Abel
|
|
Total posts: 6469
Last post: Sep 29, 2022 Member since:Nov 2, 2006
|
Cars in Garage: 4
Photos: 1354 WorkBench Posts: 2 |
|
Doors & bonnet for blasting March 21...shell March 28...there are 11 shells (various vehicles ahead in the line up).
|
|
Total posts: 9547
Last post: Apr 26, 2024 Member since:Aug 14, 2002
|
Cars in Garage: 0
Photos: 0 WorkBench Posts: 0 |
|
That's starting to sound like when I got my Mini... the deal was that the vendor would have the car professionally painted in the colour of my choice ( it had been silver, then painted black with a white roof). It was delayed by bigger work coming in and then the bodyman (or painter?) managed to break an arm playing soccer. But I did eventually get the car.
.
"Hang on a minute lads....I've got a great idea."
|
|
Total posts: 6469
Last post: Sep 29, 2022 Member since:Nov 2, 2006
|
Cars in Garage: 4
Photos: 1354 WorkBench Posts: 2 |
|
Image Gallery
However, undeterred, we will get the 4 doors & bonnet to U-blast on Tuesday, maybe the shell on Friday.
Fiddled for quite a while stripping the paint off the inside of the bonnet...glad I did...a few minor issues to address. Light blast into the corners will finish the job.
|
|
Total posts: 6469
Last post: Sep 29, 2022 Member since:Nov 2, 2006
|
Cars in Garage: 4
Photos: 1354 WorkBench Posts: 2 |
|
 Chat with the body/paint man and he is happy that we will blast, prime, fit wood, seam seal & undercoat before transport to the body/paint shop. Specifically, happy with the epoxy primer we will use.
Right now he's deeply involved with the detailed reassembly of an Oldsmobile after chassis, body/paint & bright work.


